


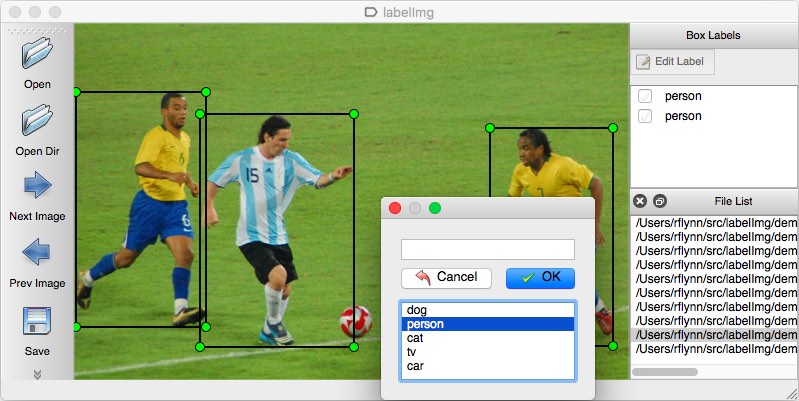
LabelImg is a graphic image annotation tool. It is very easy to use and intuitive to operate, and it is a good helper for users who want to mark many labels! I wrote it in Python and uses Qt for its graphical interface. Labels are saved as XML files in PASCAL VOC format, which is the format used by ImageNet. Additionally, it supports YOLO and CreateML formats. We can store it in different formats according to user needs, let us see how to install and use it together!
快速遊覽
Install
Windows Installation
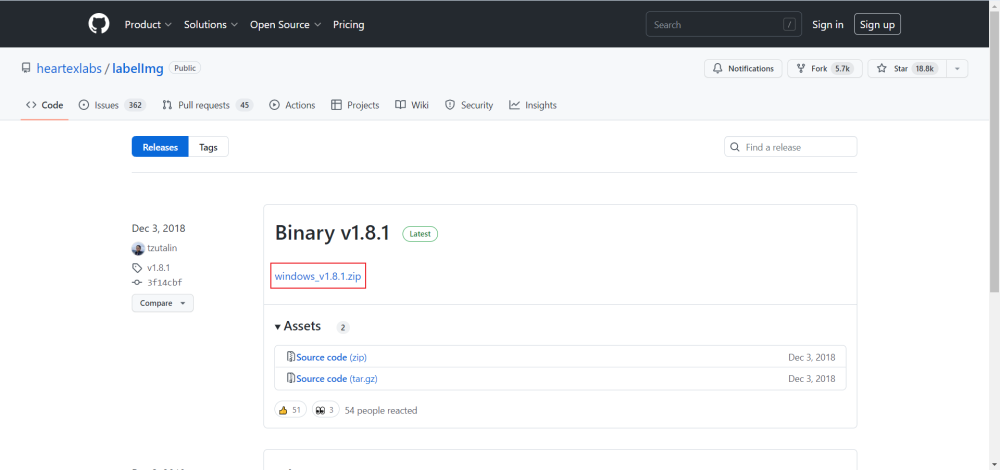
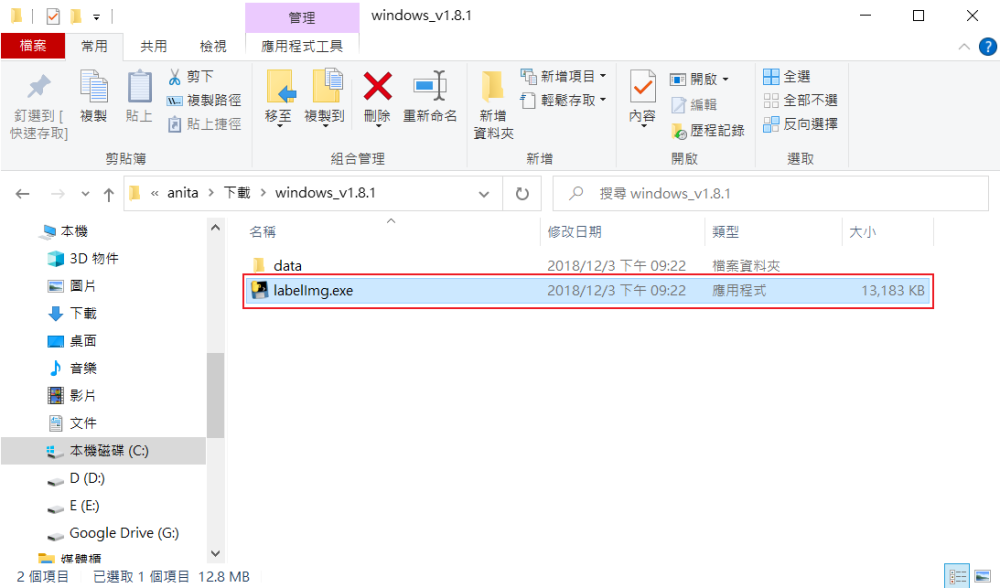
Download windows_v1.8.1.zip, unzip it, and click labelImg.exe in the folder.
Mac Installation
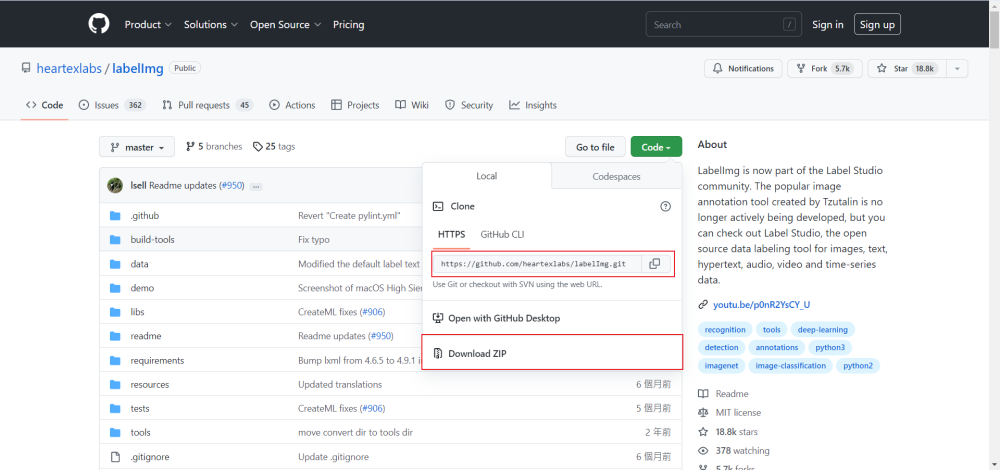
Go to the GitHub clone source file, or download the source compressed file and unzip it.
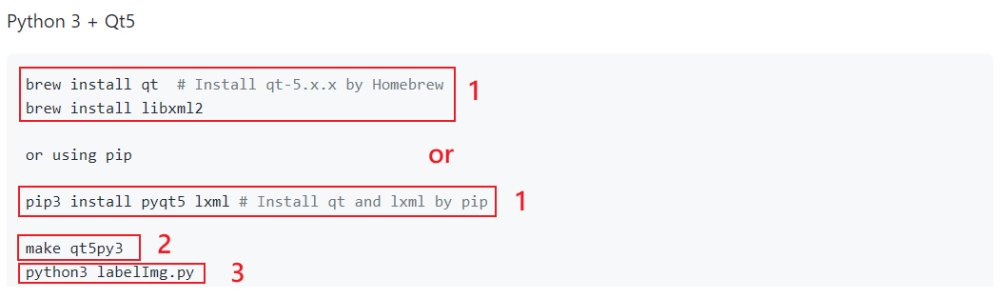
Open Terminal, first confirm whether Python3 and pip3 are installed, move to the labelImg directory and execute the following commands, if there is pip3, it is recommended to install pyqt5 and lxml with pip3.
Then execute make qt5py3, and open labelImg.py with python 3, as shown in the figure below.
Other Installation
Please refer to the Github.
Using
Watch a demo video
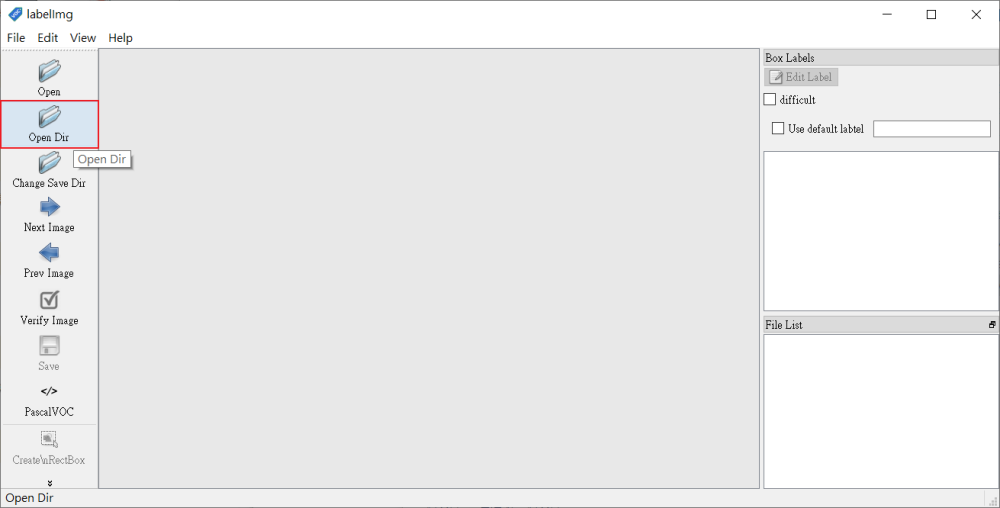
Select the image storage directory.
Select the xml storage directory
If you have already marked the data, you will see the marked box after opening it. If the first one does not appear, press one and switch back to the previous one and it will appear.

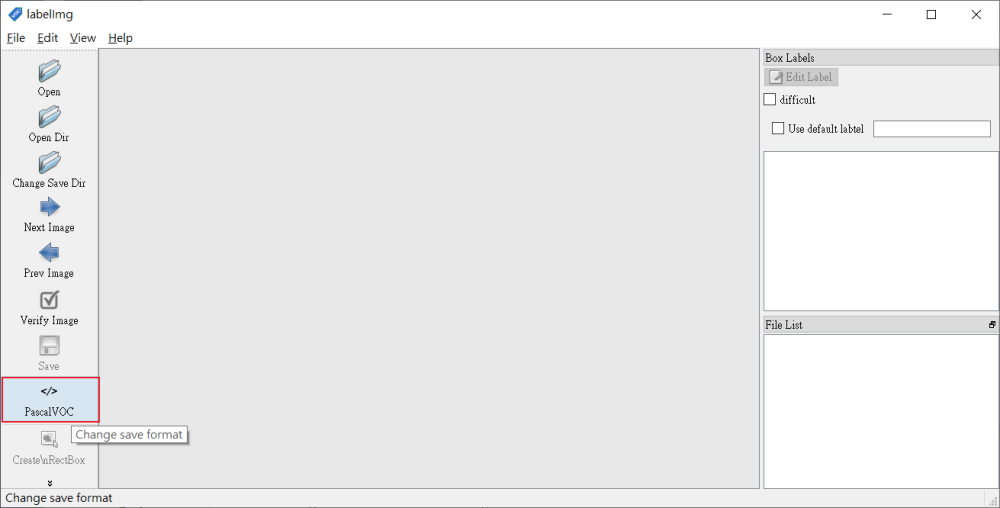
Select the save format
According to training needs. (PascalVOC or YOLO)
Hotkeys
| Ctrl + u | Load all of the images from a directory 從目錄加載所有圖像 |
| Ctrl + r | Change the default annotation target dir 更改默認註釋目標目錄 |
| Ctrl + s | Save 儲存 |
| Ctrl + d | Copy the current label and rect box 複製當前標籤和框 |
| Ctrl + Shift + d | Delete the current image 刪除當前圖像 |
| Space | Flag the current image as verified 將當前圖像標記為已驗證 |
| w | Create a rect box 創建一個框 |
| d | Next image 下一張圖片 |
| a | Previous image 上一張圖片 |
| del | Delete the selected rect box 刪除選中的矩形框 |
| Ctrl++ | Zoom in 放大 |
| Ctrl– | Zoom out 縮小 |
| ↑ → ↓ ← | Keyboard arrows to move selected rect box 移動選定的框 |
:

發表留言